homesteading.com
DIY Solar Panel Installation
Learn how to install solar panels for your homestead. The process is a bit tricky, but once you do it you'll save tons of money, and you'll be making the most of earth's natural resources (the sun). What a win! Follow along for the play by play.
DIY Solar Panel Installation
Here's what you'll need to do. Follow along carefully, and start saving money with solar energy in no time!
Like Solar Panels? Check out our other Solar Panel related articles:
Cool solar powered inventions!
12 Best DIY Solar Panel Tutorials
Solar Powered Tents
Materials
concrete
electrical cable
40-watt solar panel
1/2″ galvanized electrical conduit
4×4 posts
1/2″ copper rod
copper grounding wire
5500-watt power inverter
40-amp charge controller
angle brackets
nylon rope
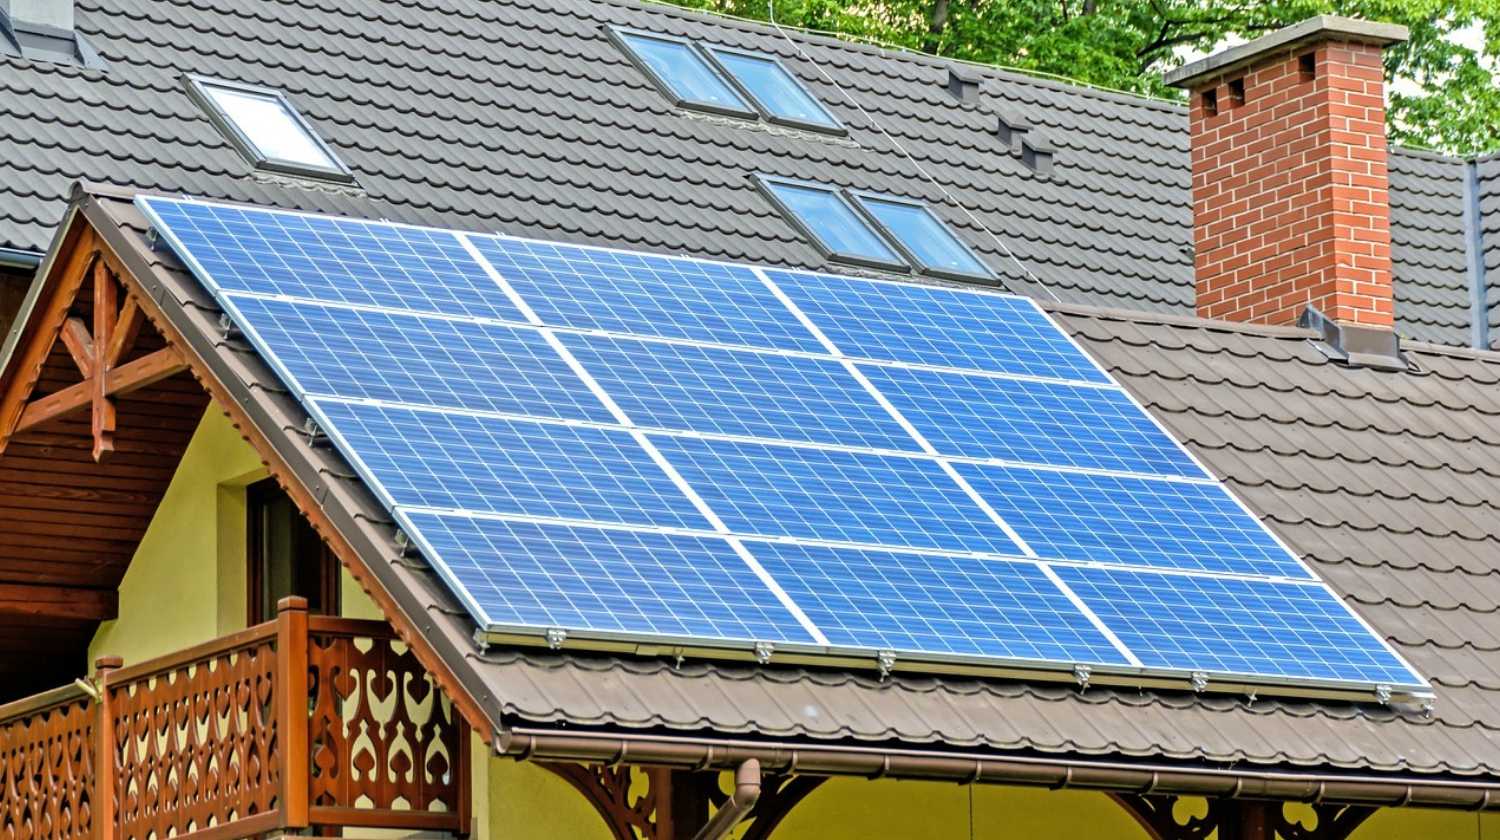
Step 1. Pick out a spot for your solar panel
|
For most people, the roof is the best location for solar panel installation. It usually already has the structural specifications that the solar panels require. All that is needed is mounting hardware and appropriate flashings. Other than the roof, you can also opt for other mounting options like shade awnings or ground-mount options.
Step 2. Bury conduit
|
Bury conduit from the house or building that will receive the power to the area where the solar panel array will be located.
Right above the conuit, build a platform consisting of concrete pillars and 4x4s that will support your solar array.
Step 3. Mount the panels
|
Place mounts four feet apart. Mount the panel to the platform using angle brackets at the mounting points, and mount the front feet first. The feet should be squared and centered before being secured into place.
Secure the mounts with steel bolts. Make sure to seal the area around the bolts in order to keep your thermal envelope air tight. Fasten the solar panels to the mounts.
Step 4. Connect the solar modules
|
Connect the solar modules together and join them at a junction connector or fuse combiner box. The modules should be stripped and wired in pairs before being connected to the fuse box mounted at the platform and connected to underground conduit output cables.
Connect the stripped wires properly in the terminal box. Once connected, shoot the wires up through the bottom of the junction box and connect to its corresponding positive and negative terminal blocks.
Step 5. Connect the exterior wiring to the interior control panels
|
The solar breaker will first be connected to a circuit breaker disconnect. The energy will flow from the disconnect to a charge controller and then to a battery bank to be stored. When needed, energy flows from the batteries back to the circuit breaker disconnect and from the disconnect to a power inverter (thus change the power from DC to AC). Finally, this converted power will flow into an electric panel — where it will provide electrical power for the home.
All of the components included in your solar array must be connected to your home's main electrical system to function.
Step 6. Connect the cables to the control panels
|
Run the electrical cable from the solar array into the house through the underground conduit. Connect the cables to nylon rope for easy threading, then pull through the conduit to inverter panels.
Connect the cables at the fuse combiner box located at the base of the solar array. The green cables are first connected to the grounding strip. The red cables are connected to the PV out positive terminal block; and the black cables are connected to the PV out negative terminal block. (Refer to image above for example)
Step 7. Ground the solar power system
|
To prevent shock, always connect a ground wire from the mounting hardware to earth. To do this, tap a grounding rod into the earth near the array. Leave the long rod extending above the ground about 6″. Then, run copper grounding wire from the rod to the fuse box and from the solar panels to the fuse box.
Step 8. Make the proper electrical connections inside
|
Make the proper electrical connections inside for the solar array to work properly. Run the cables from the array to the inverter panel disconnect. Again the red wire is connected to the positive terminal; the green grounding wire is connected to the grounding terminal; and the black wire is connected to the negative terminal.
You can have a battery bank installed your loft area or anywhere above the new control panels. Run conduit through the ceiling into the inverter panel. Next, feed two heavy-duty battery cables into the panel disconnect. The other ends of the cables will be connected to the battery pack.
Install the battery system in a series — alternating positive and negatives — and secure them into place.
Perform a test on your newly installed solar array for voltage. The voltage will vary depending on the amount of
sunlight. Lastly, attach the component covers.
That’s all, fellow homesteaders! Did you find our DIY solar panel installation helpful? Let us know in the comments section below what troubles you had or what you did differently with your solar panel installation. Do you have a solar power installation method that’s a staple on your homestead? Share it with us and we’ll give it a shot. We love doing DIY homesteading projects and becoming more self-reliant by learning more about how everything works around the homestead. That’s why Homesteading was created. We want all folks looking to lead a self-sufficient life, either on a homestead or in an urban environment, to come together and learn from each other! Of course, we welcome your help in creating a community of homesteaders. Come and share your homesteading tips and ideas, recipes and expect the best advice on self-reliance and homesteading trials from our team of long-time homesteaders, self-reliant wilderness, and preparedness experts. Want to write for Homesteading? Shoot us an e mail and make sure to stay in touch on Facebook, Twitter, and Pinterest!
Do you have Instagram? Don’t forget to join us @HomesteadingUSA.
Click here to Like Us on Facebook.
Click here to Follow Homesteading on Pinterest.
Click here to check out the original post.