homesteadandchill.com
How to Harden Off Seedlings: Tips to Prevent Transplant Shock
Come learn why and how to harden off seedlings. It’s an easy but essential step to strengthen seedlings that were started indoors, in a greenhouse, or other protected location before they’re planted outdoors.
Hardening off seedlings helps prevent transplant shock, and ensure they make a smooth, successful transition to their new home – your garden. Think of it as a simple, free bit of insurance for your plants!
NOTE: This post was originally published in March 2019 but significantly updated since.
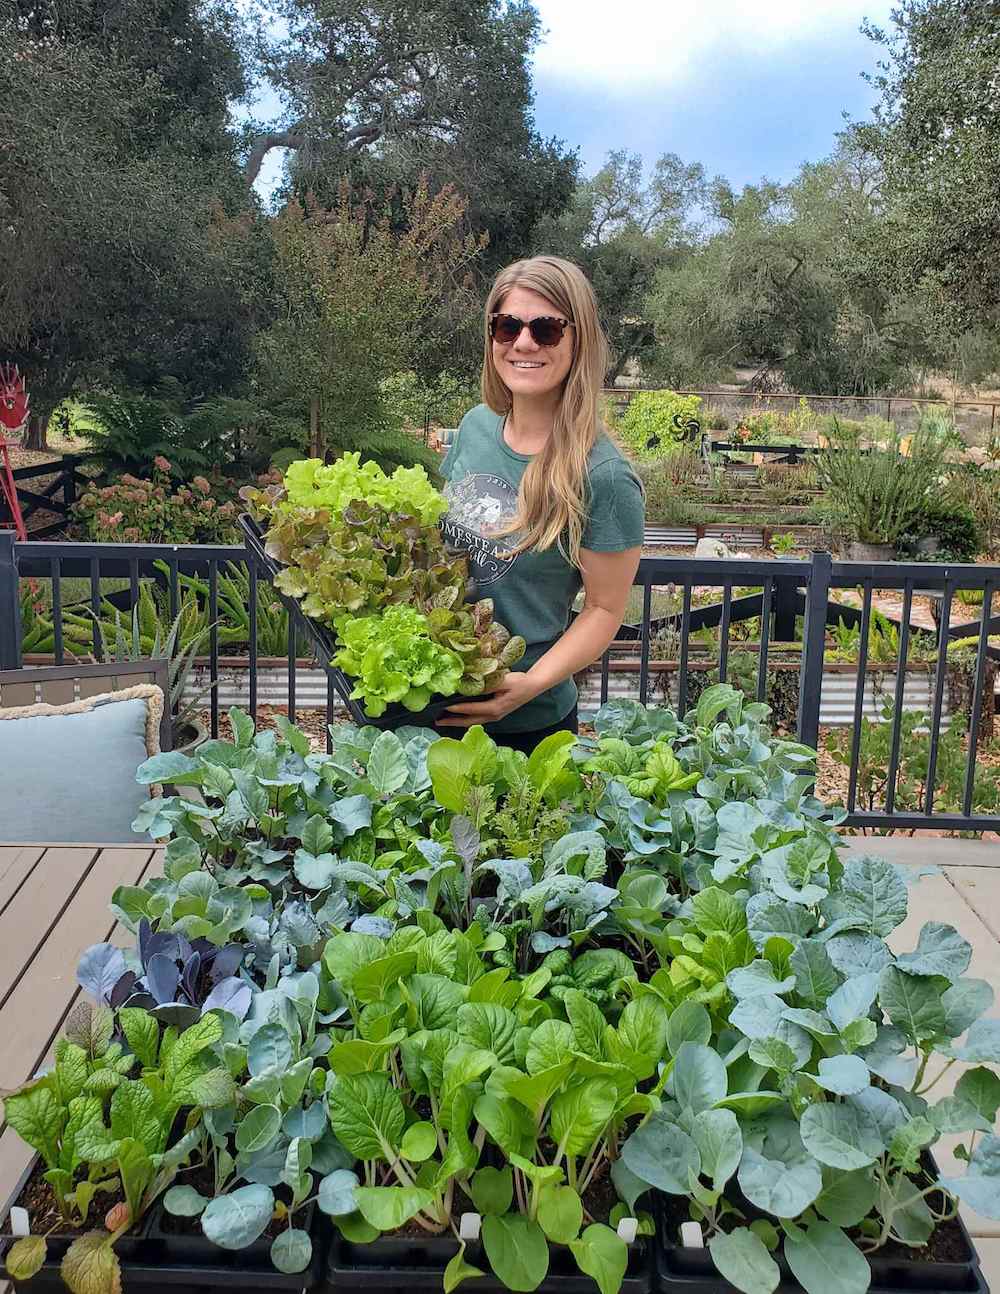
The final day of hardening off for this big group of fall seedlings, all ready to transplant
What is Hardening Off?
Hardening off seedlings is the gradual process of preparing indoor-raised seedlings to be planted outside (usually over the period of a week or longer). The goal is to slowly acclimate them to outdoor conditions to reduce stress, help the seedlings become more strong and resilient, and thereby increase their success in the garden.
Why Harden Off Seedlings?
When started indoors, seedlings are very sheltered and protected. They likely haven’t been exposed to extreme temperature swings, strong winds, rain, or even direct sun. So, if they’re quickly moved from inside to outdoors without a proper transition period, they can easily get damaged (bend, break, wilt, etc) or experience transplant shock.
Transplant shock is a state of stress or trauma that a plant may experience after being transplanted. According to Purdue University, it can result in failure to root, slowed growth, permanent stunting, or even plant death.
A tomato seedling in a state of transplant shock. Photo courtesy of Houzz
A tomato seedling with a broken stem, thanks to strong winds
RELATED: Potting up seedlings is an another essential step to prevent the plants from becoming root bound and stunted. See our top tips for success in this Seed Starting 101 guide.
While Seedlings Are Still Inside
Many gardeners associate hardening off with the week or two before transplanting seedlings outside (when you gradually start taking them outside), yet there are a number of steps you can take even earlier to help strengthen your seedlings and prepare them for the transition too.
Use a Fan Indoors
Shortly after they sprout (about two weeks after germination), we start hardening off our indoor seedlings by using an oscillating fan on low to create a gentle wind. The airflow makes seedlings rapidly strengthen their stems in response to the movement, helping them get ready for natural wind outdoors.
PRO TIP: Place the fan close enough that it makes the seedlings wiggle and dance a bit, but not so strong that they totally bend over! We usually start using the fan for just a few hours at a time (this oscillating fan has a handy timer), and rotate the trays every few days so the seedlings get even airflow from all directions.
Reduce Heat
If you used a seedling heat mat, be sure to wean your seedlings off of heat at least a couple weeks before they go outside. I suggest using a heat mat with a thermostat control so you can slowly reduce the temperature over a couple weeks.
PRO TIP: We typically use heat mats during germination but remove them right after the seedlings sprout – unless extra heat is absolutely necessary (e.g. when we started seeds in a very cold greenhouse or shed during the winter).
Even seedlings started in a greenhouse need a bit of hardening off. We had to use heat mats and lights in ours since it got more shade during the winter.
How to Harden Off Seedlings
About 7 to 10 days before your area’s last frost date (or before you intend to plant seedlings outside) start bringing them on short field trips outside to gradually expose them to direct sun, wind, and temperature changes. Try to start on a day with mild, calm weather conditions.
Key Tips for Success:
Gradual exposure: On the first day, set the seedlings outside in a shady, protected location for only a couple hours. Gradually increase the length of time and sun exposure each following day.
Protect from sun and wind: Avoid direct sun or strong wind early on, which can damage or even kill tender seedlings. Introduce them to partial sun on day three or four.
Protect from frost: Towards the end of the hardening off process, we start leaving our seedlings out into the evening hours so they can experience cooler temperatures too – but be sure to protect them from frost!
Don’t forget to bring the seedlings back in overnight. I usually set an alarm on my phone as a reminder.
Water: Seedlings will often dry out faster when outdoors compared to indoors, so keep an eye on the soil moisture level and provide water as needed.
Watch out for animals, birds, or other pests. My friend forgot her seedlings were outside, let her chickens out, and they ate them ALL. Devastating! So, protect your seedlings with wire fencing, insect netting, or other means if necessary
Once the seedlings can handle being in direct sun all day without wilting, they are ready for planting.
PRO TIP: The hardening off process doesn’t need to be perfect, especially if you’re away from home during the day. Just do your best! Some hardening off is better than none. It’s also okay to skip a day if the weather is particularly bad, or if life happens. Simply resume the next day.
Trays of seedlings out on their second day of hardening off, in a shady portion of the yard.
Towards the end of the hardening off process, we put the seedling trays out in full sun, often times on or near the bed they’re going to be planted in. In this photo, we had just harvested all the remaining kohlrabi, radishes, and greens from the bed that needed to be cleared for the next round of plants.
Tips for Planting Day
Before transplanting seedlings, check the weather forecast for the coming week. Try to plant seedlings on a mild, calm day (preferably one with several days of good weather ahead). Be prepared to protect your seedlings during harsh conditions over the next couple of weeks.
For instance, we usually cover our raised beds with hoops and insect netting to protect small tender seedlings from the wild birds that love to eat them. Then, we can swap out the insect netting for shade cloth or frost cloth if needed too.
See our complete guide on transplanting seedlings here, including how we like to amend our soil first.
We’d planned to transplant out tender greens and flowers on March 3rd, but decided to wait a week after seeing this forecast. The forecast got even worse – with 2 inches of rain plus 30 mph winds one day. That kind of weather has the potential to break and damage seedlings, even if they’re hardened off.
An unexpected late frost came through and severely damaged this young squash plant. We should have covered it with frost cloth!
And that’s how to harden off seedlings.
Congratulations! With your love and care, your fragile baby seedlings have now blossomed into well-adjusted, strong teenagers – ready to take on the world.
I hope you found this post helpful. Please let me know if you have any questions in the comments below. Thanks for reading, and happy planting!
Don’t miss these related posts:
How and When to Thin Seedlings: Tips for Fast Healthy Growth
Garden Companion Planting Chart, Plans, and Benefits
How to Build a DIY Raised Garden Bed: Step-by-Step Guide
Potting Up Seedlings: What, Why, When & How
Did you enjoy this article? Want to hear more? Stay in touch! Sign up below to receive weekly updates on new posts from Homestead and Chill.
The post How to Harden Off Seedlings: Tips to Prevent Transplant Shock appeared first on Homestead and Chill.