homesteading.com
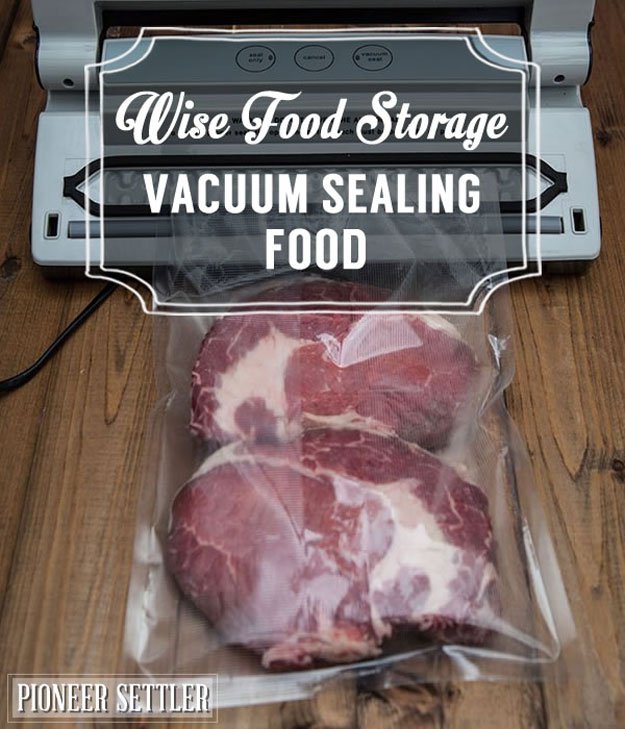
Wise Food Storage | Vacuum Sealing Food
Vacuum sealing food will change the way you store your food. With just a few easy steps, you can store and have your food last longer than usual. It's really not a complicated procedure, if you follow the steps I have on this post, you'll be vacuum sealing your food in no time!
Wise Food Storage | Vacuum Sealing Food
Did you know that when you vacuum seal food, it stays fresh 5 times longer than other conventional storage methods? Because vacuum sealing removes the air from the container (reducing oxidation), foods such as beef, poultry, fish and even vegetables can have an extended freezer life– up to 3 years!
I've laid out a quick explanation of how to go about using your vacuum sealer to safely and quickly store your food.
Let's get started!
Supplies you need for vacuum sealing food:
vacuum sealer (I use the Foodsaver)
vacuum sealing bags
vacuum sealing roll – (to make my own bags)
scissors
food for storage
Step 1
I'm going to use my vacuum sealer to store my chocolate chia survival bars as well as some beef jerky I made recently.
The chocolate chia survivor bars are small, so I'm going to use one of the small vacuum sealing bags.
The vacuum seal bags are smaller, so I'm going use these for the chia survival bars.
Step 2
Make sure you have your vacuum sealer plugged in. Grab your bag of food and place the open end so the edge of the bag is lies in between the two foam sealing pads. This is where the suction happens so don't push the edge of the bag all the way into the machine.
Put the bars in the bag so they lie flat.
Place the open end in the vacuum sealer.
Close the lid.
Step 3
Lock it down! Press the tab on the right down until it clicks. For the FoodSaver I'm using, you'll have to press fairly hard.
Lock the lid. Press the lever down all the way until it clicks.
It should be this far down when it's completely locked.
Press the Vacuum Seal button.
It will start vacuuming out all of the air.
Step 4
Pull the tab up to unlock your bag and check the seal to make sure there aren't any wrinkles or holes.
When it's done, pull the lock lever all the way up to open the lid.
Remove the bag and marvel at your sealed bag of goodness.
Be sure to label your storage bag with a name and date.
Refrigerator Pickles | A Homesteading Guide To Pickling https://t.co/4GcjH1VymM pic.twitter.com/dGFkIfiuaE
— Homesteading (@HomesteadingUSA) January 20, 2016
Now I'm going to use the roll to make a custom sized bag for the beef jerky.
Step 1
Lay the roll out along side the beef jerky to measure how long your bag will be. You will want to leave 3 inches from the end of the jerky to the edge of the bag.
Use the vacuum seal roll to create a custom size bag for over sized items.
Lay the roll out along side the jerky to cut to the right size.
The roll I have is marked every 3 inches. This is super helpful in eyeballing the extra space you need around the food to get it sealed properly.
Use your scissors to cut the size you need.
Step 2
You now have two open ends, so before you put anything inside, you'll want to seal one end.
Place one end just as you did before – make sure the edge sits in the opening created by the two foam seals.
Close the lid.
Lock the lid. Press the lever down all the way until it clicks.
This time, press the “Seal” button.
Release the lever to the “open” position.
Check your seal.
Step 3
Place the beef jerky inside the bag you just made. Get ready to vacuum seal it!
Label the bag with the name and date.
Place the open end in the vacuum sealer.
Lock the lid.
Press the vacuum seal button.
Looking good!
Check the seal for air pockets and wrinkles.
Vacuum sealed chocolate chia bars and beef jerky! A great way to store food, safely.
Some helpful hints:
Avoid overfilling the bags in order to ensure a suction and seal.
If you are sealing items with sharp edges, wrap the food/item in a cloth first (paper towels work too), then seal.
If you are wanting to store fruits and vegetables, you'll need to pre-freeze the fruits and blanch the vegetables before you vacuum seal.
Check out the answer to food waste is in this 206 year old process that every survivalist needs to know…Get the canning kit here.
Want to see something cool? Here's a hack on how to make a DIY vacuum sealer from MAD Science Hacks:
Wasn't that easy? What food do you plan on vacuum sealing? Let me know below in the comments!
Follow us on Instagram, Twitter, Pinterest, and Facebook!
Also check out my answer to survival food, this canned meat is perfect for any homesteader.
LIKE this? I'm sure you'll LOVE:
How to Dehydrate Foods to Preserve Them
How to Make the Most Epic Beef Jerky
Chocolate Chia Homemade Survival Bars | Recipe


