www.upworthy.com
How a beloved kids game in Ghana became the Jenga phenomenon we all know today
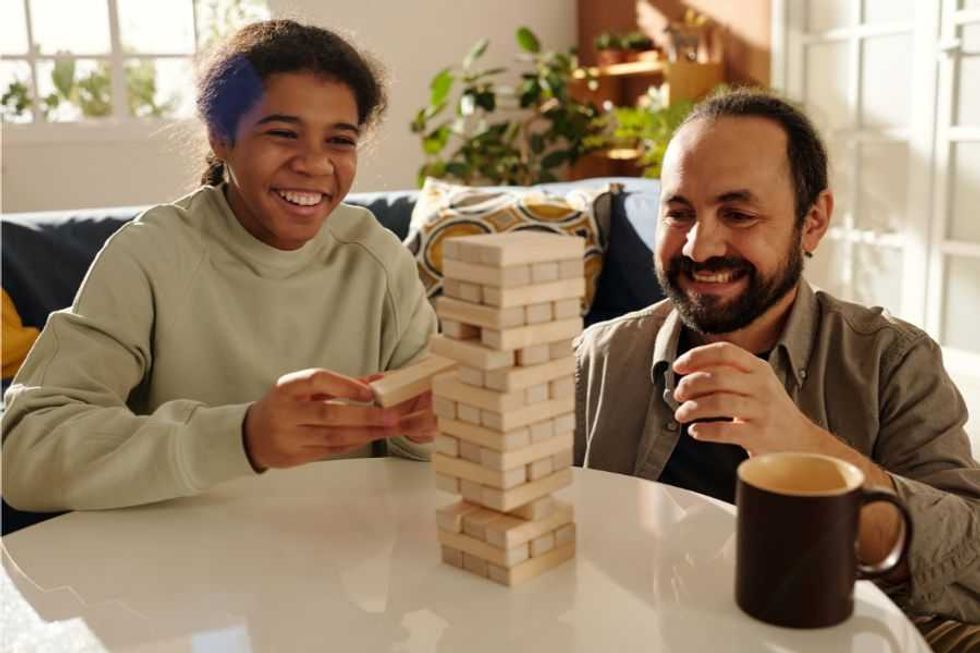
Game night is something that lots of friends and families enjoy around the world, and certain games have become staples. Monopoly, Trouble, and Scrabble are games most Americans are intimately familiar with, but another has risen to the top of the heap. Jenga is played in dining rooms around the world. There's even a giant version that's often played at bars, pubs, and backyard barbecues.It's a game made of wooden rectangular blocks stacked to form a tower. Each row of blocks is laid in a different direction to create a stable foundation as players begin removing blocks one by one and placing them on top of the weakening tower. Eventually, the tower collapses when an unlucky player removes a weight-bearing block. But the anxiety-inducing game didn't start in America. Focused fun: A child plays a tower block game.Photo credit: CanvaThe game didn't start in Europe either, though the woman who trademarked the simple wooden game lives there. Before Leslie Scott decided to sell her childhood game to the masses, she lived in several African countries. While living in Ghana with her family, Scott was near a timber mill where children often collected small discarded pieces of wood, called "Takoradi Bricks," and stacked them on top of one another. According to Ghanaian content creator Kobe Boujee, the game was popular among local children and was called "Osiadan," which means "one who builds," or "a builder."Scott never mentions the game as something commonly played by other children in her Ghanaian town, though it's possible she was unaware of that. She and her brother were in different age groups. When he was playing with blocks, Scott was a senior in high school, making it plausible that he picked up the game from other children in town without his sister's knowledge. When their parents moved the family to England, they brought the Takoradi Bricks with them. View this post on Instagram A post shared by Kobe Boujee | Content Creator (@kobe_boujee)Scott tells YouTube's Seize the Play:"Takoradi was the main port in Ghana. Having had this set for him, we then actually had a few sets made deliberately to play this game that we called Takoradi Bricks. I mean, our family just played games. We made games out of everything, so it's of no particular surprise that he's playing with his blocks, and we sort of push him out of the way and start playing with his blocks. I mean, that was the basis of the game, the game that then I turned into Jenga."In the interview, Scott acknowledges hearing people describe the game as African, telling the interviewer, "This wasn't a game that existed. I often hear people saying, 'you know it's an African game.' Well, it wasn't. There's no evidence of anybody playing a game with little wooden blocks like that in any sort of culture." If the game was localized because of the children's proximity to the timber mill, it's possible it was never widely documented. It's also possible, however, that the formal game didn't exist before Scott’s family created it. After bringing the game to England, it became popular among the family's friends, prompting Scott to trademark it and begin producing it for sale. The game was originally called Kujenga, a Swahili word meaning "to build." Eventually, the name was shortened to Jenga, and although it didn't sell well at first, it began to take off in the mid-'80s.Whether the Ghanaian content creator is correct that the game originated with local children, or Scott is correct that her family created it, the game was developed in Ghana. But before deciding to market Jenga to the masses, Scott made a small change to the rules. By adding each removed block to the top of the tower, she transformed it into a uniquely Scott creation and the blood-pressure-raising game the world has come to love.